
Composite decking tiles offer the perfect solution for creating beautiful outdoor spaces quickly and easily. Whether you're covering a concrete patio, balcony, or existing wood deck, these interlocking tiles can transform any space in just a few hours.
Pre-Installation Preparation
Surface Requirements
Solid Base: Concrete, wood deck, or compacted gravel
Level Surface: Maximum ¼ inch slope over 8 feet
Clean Surface: Free of debris, dirt, and moisture
Adequate Drainage: Ensure water can flow away
Tools Needed
Tape measure
Chalk line
Rubber mallet
Safety glasses
Utility knife or saw
Step-by-Step Installation Guide
Step 1: Plan Your Layout
Start from the center or most visible corner. Dry-lay a few tiles to visualize the pattern and make necessary cuts before final installation.
Step 2: Install First Tile
Place your starting tile and ensure it's properly positioned. Most composite tiles have interlocking edges that simply snap together.
Step 3: Connect Additional Tiles
Continue connecting tiles row by row. Use a rubber mallet to gently tap tiles into place if needed, being careful not to damage the edges.
Step 4: Handle Edges and Obstacles
For edges or around obstacles:
Measure carefully and mark cutting lines
Use a fine-tooth saw for straight cuts
Sand any rough edges after cutting
Step 5: Final Inspection
Walk across the entire surface to ensure all tiles are securely locked and no movement occurs.
Installation Methods for Different Bases
Concrete Surface
Ensure surface is clean and dry
No adhesive needed for most interlocking systems
Allows for easy removal if needed
Existing Wood Deck
Check deck structure is sound
Ensure proper ventilation beneath
Install directly over existing deck boards
Balcony Installation
Check weight capacity
Ensure proper drainage
Consider using pedestals for perfect leveling
Maintenance Tips
Regular Cleaning: Sweep regularly and wash with mild soap
Stain Removal: Clean spills promptly to prevent staining
Winter Care: Remove snow with plastic shovel
Inspection: Check for loose tiles seasonally
Common Installation Mistakes to Avoid
Starting Without Planning - Always dry-lay first
Forgetting Expansion Gaps - Leave small gaps at edges
Using Wrong Tools - Avoid tools that can damage tile edges
Ignoring Drainage - Ensure water can escape
Why Choose Composite Decking Tiles?
Quick Installation: Most projects completed in one day
No Special Skills Required: Perfect for DIY homeowners
Reusable: Can be disassembled and moved if needed
Instant Transformation: Immediate visual improvement
Professional Tips
Work in shaded conditions if possible - tiles can expand in direct sun
Store tiles flat before installation to prevent warping
Consider creating patterns with different colored tiles
Always follow manufacturer's specific instructions
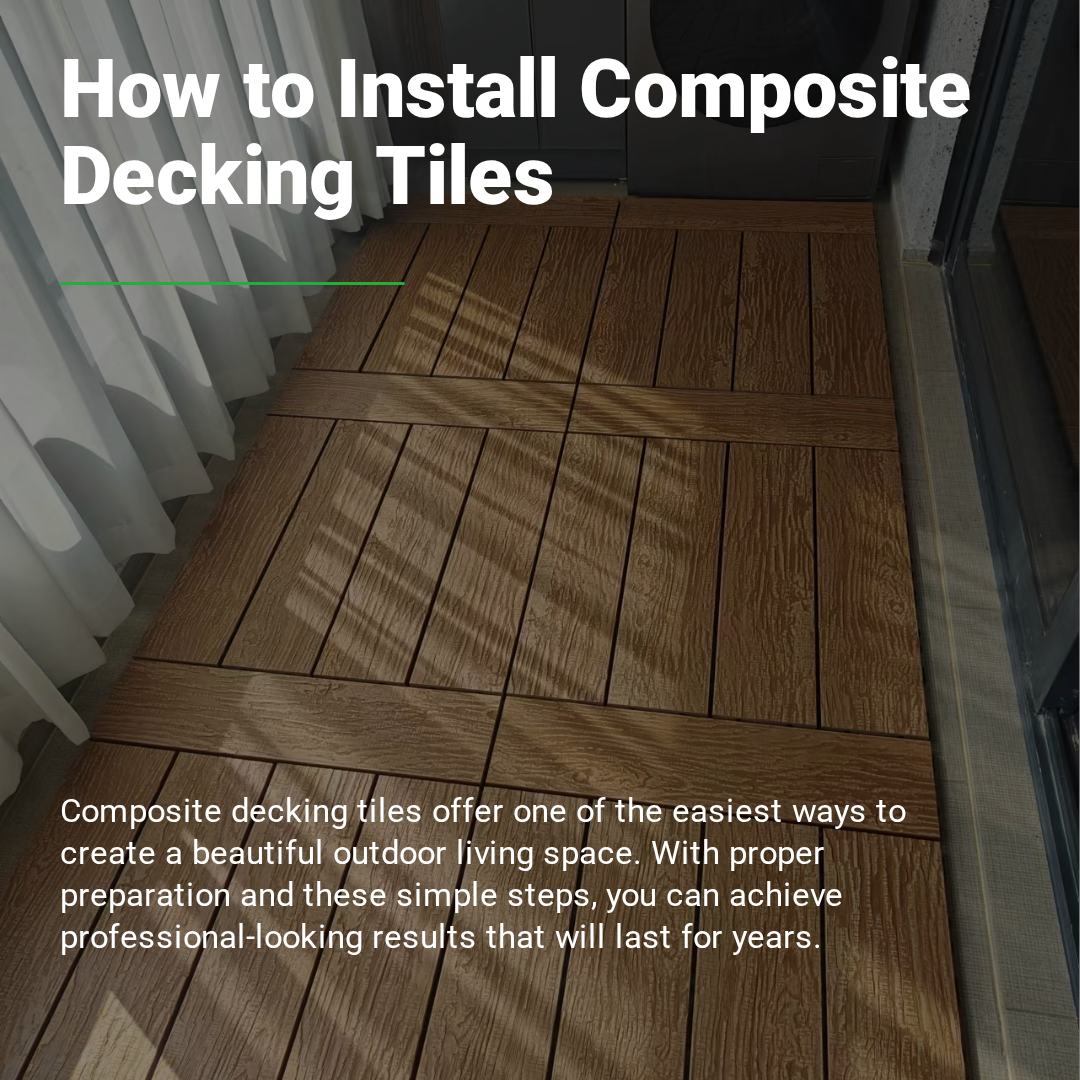
Composite decking tiles offer one of the easiest ways to create a beautiful outdoor living space. With proper preparation and these simple steps, you can achieve professional-looking results that will last for years.
Ready to start your tile project? Explore Treslam's range of composite decking tiles in various colors and styles.